E.l.f.Product Review #3- Matte Lip Colour

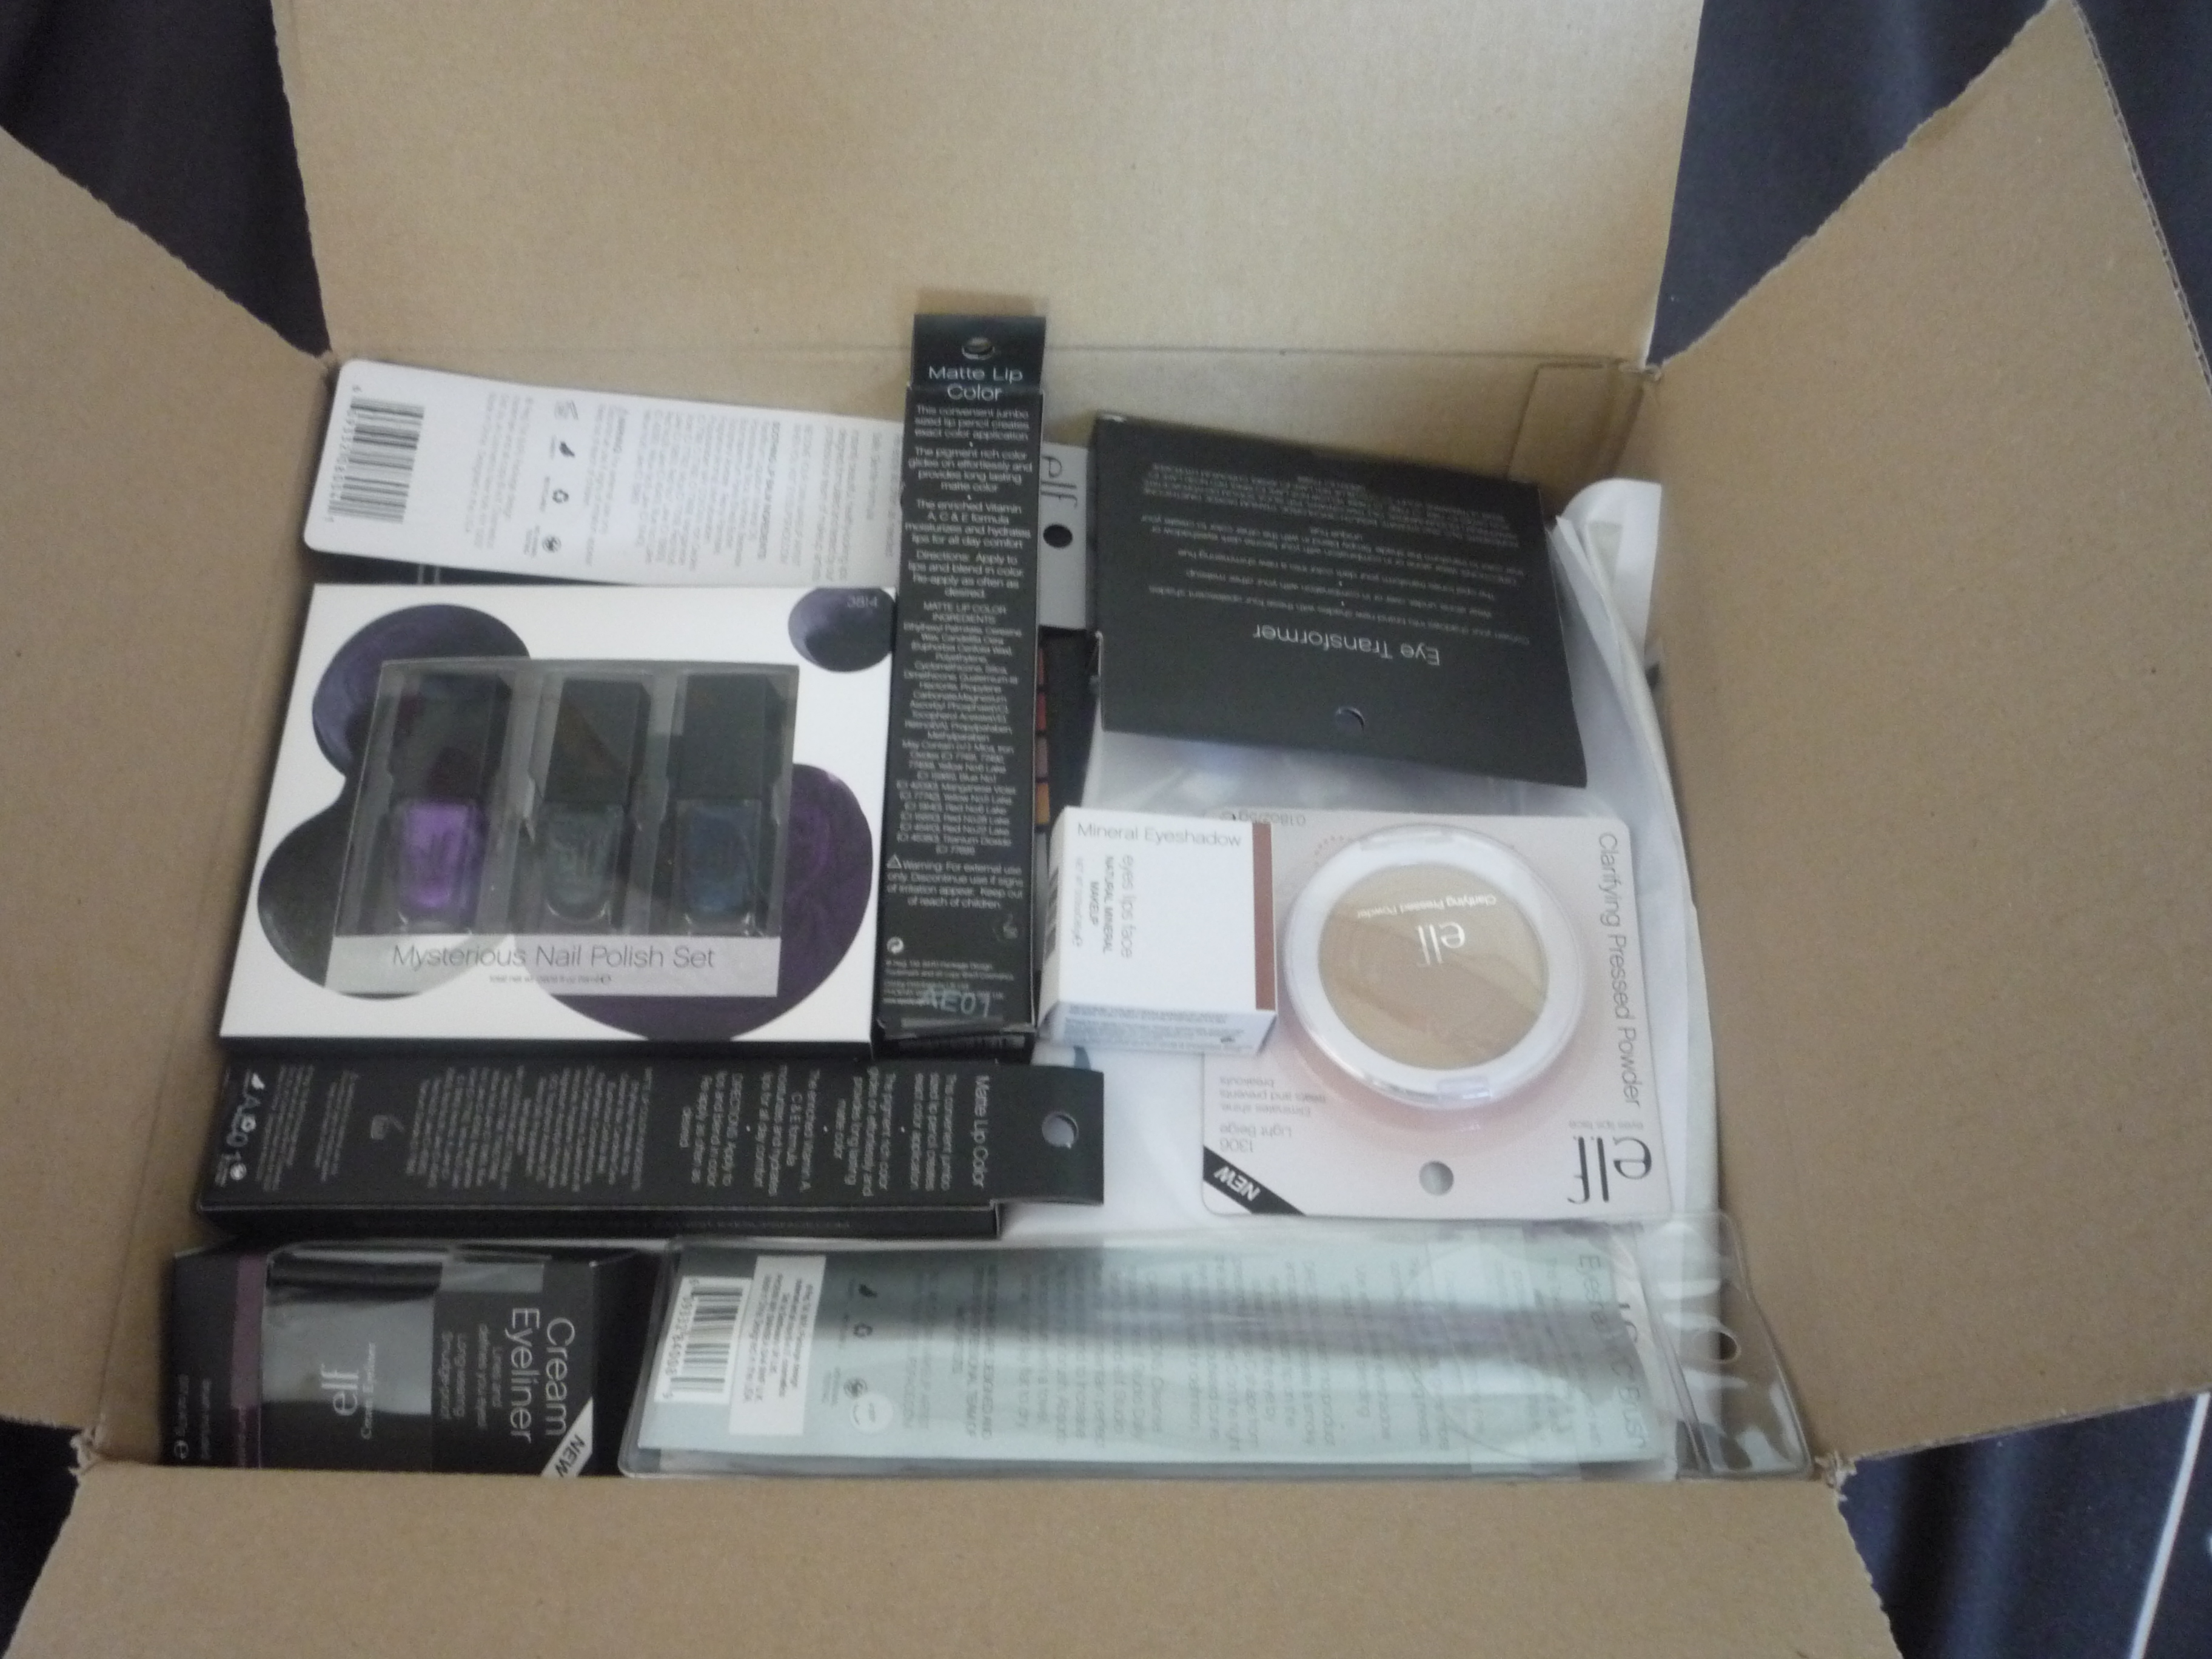
Hi all…so sorry I haven’t posted much lately, I know I said I would but I’ve been a bit snowed under with work and getting ready to head back to uni in a few weeks. But anyway I’m here now and reviewing two of E.L.Fs Studio Matte Lip Colours.

20130906-120810.jpg

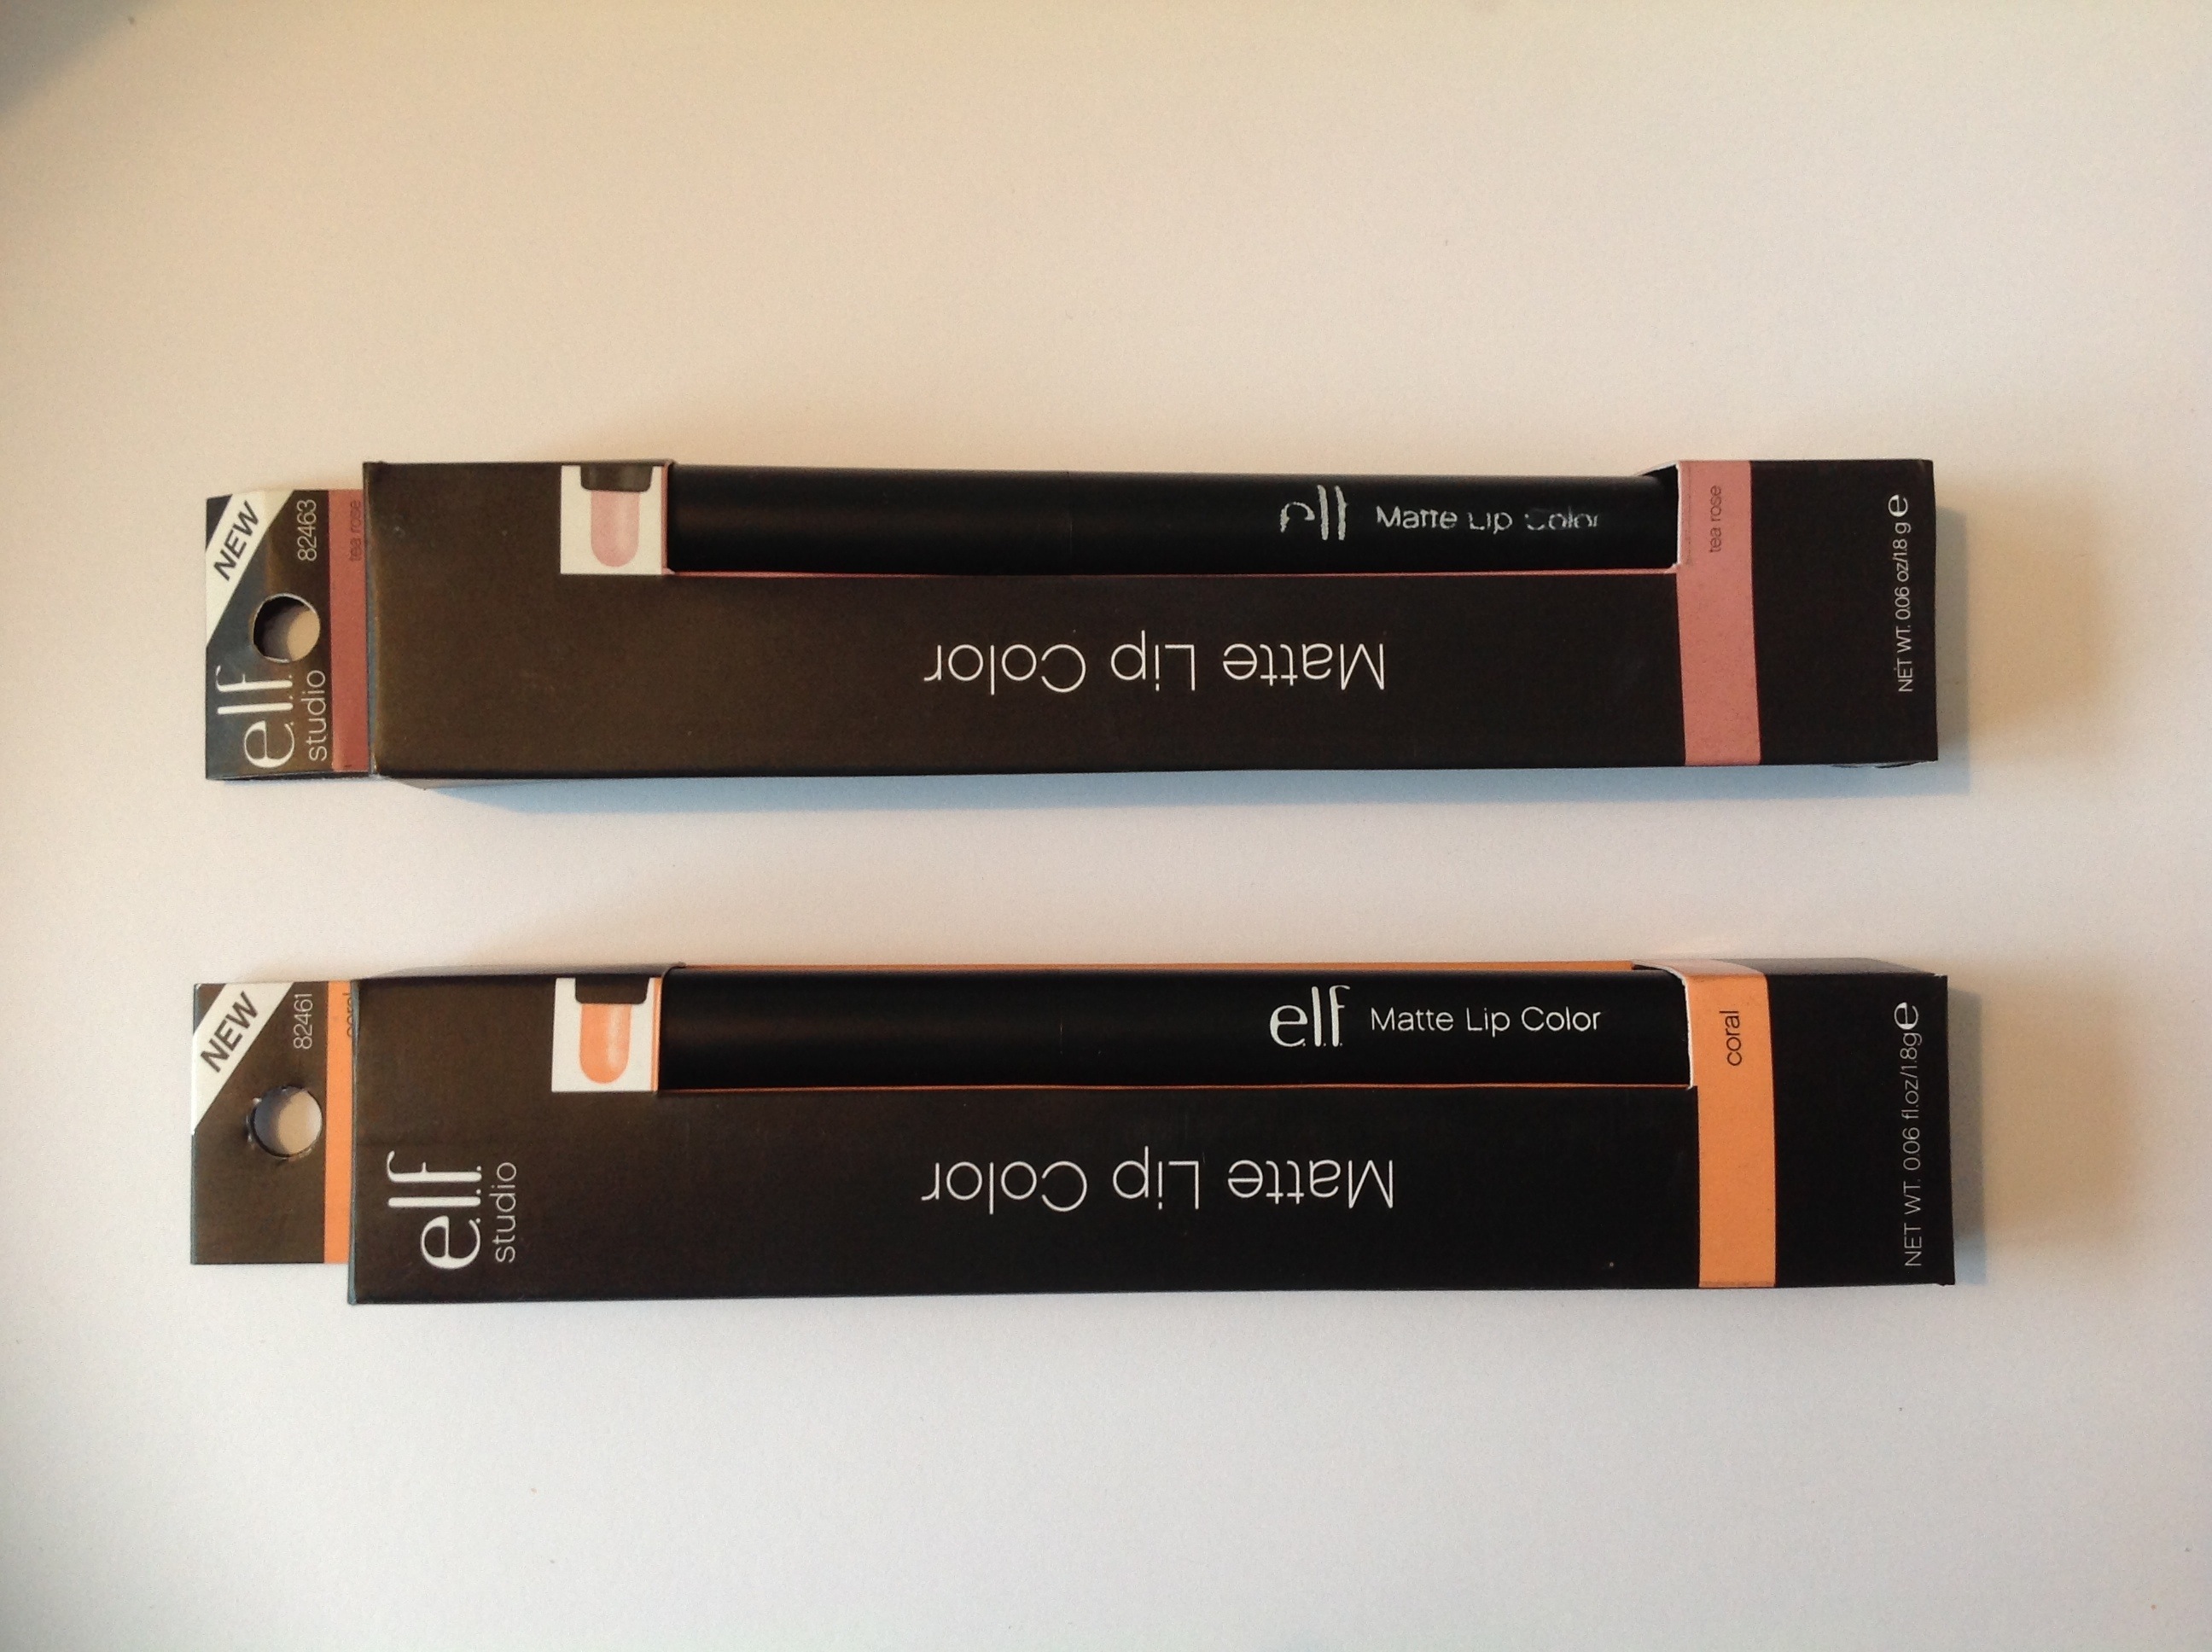
These come in a range of colours, I think there’s 6 in total, the two I purchased were from the paler end of the range and are, Coral, and Tea Rose.

My favourite colour to wear on my lips is red but it’s not always an appropriate colour so I was after something that was more wearable day to day. These are perfect.

The pencil itself is a retractable type twist lip colour, which is great as you get get every last bit out. It’s quite a soft creamy texture which mean it applies well and gives good coverage in just a few swipes. The only this I will say, which I guess is a slight negative, is that because this product is a matte lip colour there is no gloss in it at all. So if you suffer from dry or cracked lips, I wouldn’t recommend this to you as it will just highlight any blemished or dry patches on your lips. You can apply it with a balm underneath, but I find you don’t get quite the same effect.

20130906-121608.jpg

The top colour in the above picture is the Tea Rose. This is what I would call a dusty pink. It is slightly darker than I thought it would be, but I still like it. This colour is great if you’re not too confident with bold lip colours but still want a bit of drama going on. It quite strange really, it’s one of those colours that almost doesn’t look like you’re wearing any lipstick but then you look again and think ‘oo how nice do my lips look!’ Or that might just be me!?

20130906-122631.jpg

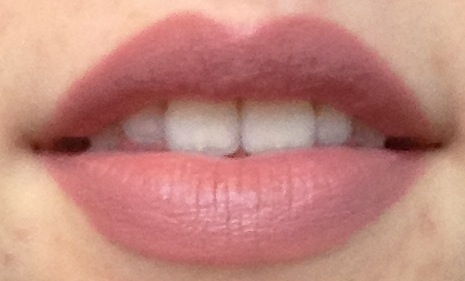
The Coral, as you see, is more or a peachy orange tone, I really like this one, and think its quite cute. It goes great with natural look makeup to add a bit of colour and glow. Now not everyone cares about the ‘taste’ of lip products as you’re not actually eating them, but for me if it’s that close to my mouth and I can taste it I want it to taste okay at least.
These have quite a sweet taste to them, and that’s about it. I wouldn’t say it’s nice but it’s not nasty either, so that’s fine with me.

20130906-122817.jpg

Now these lip colours have a secret……………………a hidden sharpener. So many people have these for ages without realising they have a built in sharpener. It’s understandable as I don’t think it says on either e.l.fs website or on the packaging itself. This really amused me when I found out, I thought it was amazing. So on the pencils themselves there is a coloured bit at the end (opposite to the lid) which is representative of the colour of the pencil. Now if you give that coloured bit a good twist and pull it will pop out and voila! a sharpener. It’s only plastic cone shape with a small slit in it which act as the ‘blade’ but because these are so soft and creamy it does the job just fine.

20130906-124259.jpg

Over all these are great little items, perfect to fit in your bag, come in a great range of colours, look lovely when applied, apply easy and last quite well (a couple of hours without touching up) which I think is fine for a day lip stick.

As mentioned above the only down side is they’re not great for dry lips, although I find this to be the case with most matte lip colours, not just elf.

I give these 8/10 (1 point purely for ingenious sharpener idea)

All comments and questions welcome as always. I love to hear back from you all.

Bea
x

E.l.f Product Review #2- Corrective Concealer

Hi all…so as promised another E.l.f product review is here.

This time I will be reviewing and doing swatches of E.l.f.’s Corrective Concealer palette.

Now there are actually two corrective concealer palettes to chose from off the E.l.f website but the one I have is the erase and conceal.

As always the item comes nicely packaged in a clearly visible box, with user instructions on the back.

Image

As a first time e.l.f user I have to say how impressed I am with all top their packaging, it’s very sleek and if you didn’t know you would think it was an expensive brand

The palette itself is a slim black NARS style case and features a small but adequate mirror inside.

20130828-172934.jpg

Within the palette you get a small brush ideal for the product. Quite often brushes you get with an item can be quite poor quality…but this isn’t the case. This brush has super soft bristles and I can only imagine is a miniature version of their studio concealer brush.

20130828-174229.jpg

One of the main things that intrigued be about this product and convinced be to buy it was the colour combinations. Up until now I have only ever used skin colour, foundation like concealers, none of which have ever really worked.

This selection of colours has one for each specific problem and blemish, the instructions on the box explain which to use for what issue.

Yellow- use to conceal dark circles or bruises
Blue- erases orange marks e.g. from tanning
Green- neutralises and covers red spots, pimples, scars or rosacea
Pink- brighten the inner and outer corners of the eye for an awakened look

Obviously the ones you use most depend on your skin, I’ve found I use yellow and green most, but have tried them all. I can honestly say this product is AMAZING! It really does do what it says. The way it works is by using the opposite colour to the problem, if you look at a colour wheel the colours featured in this palette are opposites, so work by counteracting and neutralising the colour/issue.

The texture of these are nice and creamy so apply well and still cover dry patches should you need. While the brush is good, due to its size it can take a few applications to apply the amount needed, so perhaps using a full sized brush if you have one, I will be buying one soon.

I have fair to medium skin and these colour do seem to blend in well and you can’t see the colours (or problem area) once foundation and or powder is applied. Although I’m not sure how well they would work on darker skin tones, but for the price of £3.75 ( I got this half price, so even better!) it’s definitely worth a shot.

The swatches are below, they do look slightly transparent in the photo, they aren’t that much in real although they do build well should you need it.

20130828-181037.jpg

I would give this product 8.5/9 out of 10. I really do love it. I don’t think I will be purchasing any more skin coloured concealers in the near future, but this is now a must have and will be re purchasing soon to ensure I don’t run out!

I hope this has been of use.
As always feel free to leave any comments or questions below.

Bea
x

Coming up….

Hi all, just thought I would drop in and let you all know what I’ll be posting this week. Since my e.l.f haul, I’ve only reviewed one item, sorry I’ve been busy playing with them!

So anyway I will be reviewing and doing swatches of the following items….

E.l.f 48pc Little Black Beauty Book- Warm Edition
E.l.f Corrective Concealer palette
E.l.f Matte Lip Colour in Tea Rose and Coral

20130827-102155.jpg

**Hint- one of the above items is my new Must Have**…..

…So watch this space

Bea
x

Dotty as a frog!

Just a quick one today. I wasn’t planning on doing a post today but, having just had a play with my nails I thought I’d share it with you lovely lot.

I’ve been doing some research on poison dart frogs lately, (random I know), and was inspired by their gorgeous colouring and patterns, and decided to translate onto my nails, so here’s what I got….

 ImageImageImage

I used Barry M Raspberry which is one of my all time favourite colours, for the dots I just used up an old white I had lying around. 

**TOP TIP to create near perfect dots without nail art pens use the head of a pin. Push the pin into a rubber topped pencil for easy use.**

I think this is a really cute, fun design and pretty quick to do. Just what I like when doing my nails! 

Would love to hear what you think! 

Bea

x

The Versatile Blogger Award!

versatile-blogger-nominations

So happy to have been nominated for The Versatile Blogger Award by Ashley from http://allthingsbeautyandashley.wordpress.com/ …thank you!

How it works…

1. Display the Award Certificate on your blog

2. Announce your win with a post and thank the blogger who nominated you.

3. Present 15 deserving bloggers with the award.

4. Link your nominees in the post and let them know of their nomination with a comment.

5. Post 7 interesting things about yourself

My nominees are…(I feel like I’m hosting an awards night…hehe)…

http://nearlynailedit.wordpress.com/

http://joannaloves.com/

http://parisandnewyork.wordpress.com/

http://polishandpaste01.wordpress.com/

http://sheerglitz.wordpress.com/

http://cosmeticsobsession.wordpress.com/

http://paintedladybeauty.wordpress.com/

http://maesbeauty.wordpress.com/

http://blogginginagrayarea.wordpress.com/

http://blisswithbeauty.com/

http://cherylvivalabeauty.wordpress.com/

http://oliviasteenbeautyblog.wordpress.com/

http://beautifulbrokelifestyle.com/

http://niicolea.com/

http://kakabeautyblog.com/

7 Interesting (ish) things about me…

  1. I absolutely love anything soft and fluffy and immediately have to touch whatever it is.
  2. A lot of people cannot pronounce or spell my name.
  3. I have the same middle name as 4 other members of my family.
  4. I am left-handed but can do many things right-handed too.
  5. I love to bake and try to do it at least once a week.
  6. I have strangely bendy fingers (apparently)
  7. I love looking through really old photos and imagining what it would be like ‘back in the day’.

Nail Art Paint Splatter

I was painting my nails the other day after discovering a new technique and thought I’d share it with you lovely lot…so here we are.

image4

Like I said this is new technique to me but one I know is going to be a regular. I call it the paint splatter effect as it reminds me of when you ‘paint’ when you’re little, but just end up flicking the brush at the page and you get all sorts of crazy patterns..(or perhaps that was just me!?) haha

So here’s the how to…enjoy 🙂

First off you need to choose a colour to use as the base, here I have used Barry M Mushroom, two coats. You can use any colour you want really as long as the other colours will show up over the top.

Bases colour

(Optional)

You then need to tape all around your nail ensuring it covers all the cuticle area but doesn’t touch the varnish.
Or you can just clean up your nail after, whichever you prefer.

For the next bit you will need:

  • Between 2-4 other nail varnish colours, to splatter with
  • 1 drinking straw
  • Top coat, matt or gloss

P1070142
My other varnish colours are Barry M Indigo, Foil Effects in gold, Peach Melba and a Natural Collection in White.

To create the splatter effect you will need to dip the straw (you can cut it shorter to make blowing easier) into your top colour, so you have a good amount in the straw.

photo

Now being careful not to inhale, (it tastes nasty!) you need to BLOW quite sharply down the straw while holding it over your nail to create the ‘splat’.

P1070148

Repeat this with all your chosen colours until you have your desired effect.

Apply a top coat to keep it in place….and voila!

I only ‘splattered’ only one nail this time but you can do all if you prefer.

image1 image3

This is a great, simple way to get really funky looking nails…and the colour combinations are endless!

This also makes a great summer look if you use white as the base colour and then splatter with neon or pastel shades.

Have fun playing!

Bea
x

E.l.f Product Review #1- Mysterious Nail Polish Set

Review time!!

So this is my first product review (of many), and as I got my first E.l.f delivery it only seems fitting to begin with my newest items.

The first product I will be reviewing is E.l.f’s Mysterious Nail Polish Set.Mysterious Nail Set

I got this set in the 50% off sale for £2 which is an absolute steal! The colours included are Purple Dream, Metal Madness and Dark Navy, and these are all available to buy separately, I think they’re £2.50 each, full price, hence why this set was such a bargain!

Normally when I buy nail varnish I tend to go for bright and colourful, as I often nail art on top with a darker colour, but for a change I thought I’d try something different; although these could be used over the top as well.

When I first got these, they were slightly smaller than I was expecting, but then again I’m used to Barry M size varnish; but for the price they are more than adequate in size.

Now the varnish itself regardless of colour is surprisingly good. It’s a very smooth polish, perhaps slightly thinner than more expensive brands but offers a good coverage. When you shake the bottles you can hear the ball bearings inside, which is always good as you know it’s a good mixing.

One of the things I am most impressed with are the brushes. They seem to be the perfect length and width (for my nails at least), meaning I can coat my nail in three strokes, perfect for quick and precise application; something I can’t always do with other more expensive makes. Now if you like a solid covering then you will probably want to do two coats, but you’ll be pleased to know that this varnish dries super quick, that may be partly due to the temperature in my room *melting*, but I think it would anyway.

I’ve seen a few comments from people saying this varnish is hard to remove and can make a mess, but honestly I haven’t had any problems, and even the dark colours seem to come of quick without staining 🙂

So the colours………..

Purple Dream
Purple Dream.

So this is the colour I would probably wear the least, simply because it’s not really me and reminds me of the colours I would wear when I was a kid. That said, it is a nice colour. A true purple shade with a slight metallic sheen to it; a flirty, fun nail varnish. In all the pictures I have used two coats.

Metal Madness
Metal Madness.

If you’re a fan of black nail varnish, then this is a must. It’s a great alternative to a solid black colour. It’s hard to demonstrate in a photo but there are tiny flecks of shimmery glitter in this polish, and it dries with a slightly matt finish. Perfect to jazz up what might be considered a boring nail colour.

Dark Navy
Dark Navy.

This colour is super hard to pick up on camera, so I’ll try my best to describe it. Despite the name, personally I would call this more of a midnight blue; a really dark blue, but still distinguishable enough from black. This too has a noticeable shimmer to it, and I think this could be my ‘new black’. This is a very pretty colour, perfect for someone who doesn’t normally wear dark nail varnish but wants to give it a go.

All in all, I’m really pleased with these, especially for the price. Although I’m not sure I would pay £2.50 for an individual varnish, I think £4 for 3 is great…and even better if you get them with an offer.

Hope this has been a helpful post. If anyone wants me to review a specific product (from my haul) next, just leave a comment and I’ll see what I can do.

Bea
x

E.L.F Virgin!

Delivery! P1070112

So my delivery arrived today! Quicker than I expected given the current offers. So happy with everything I ordered, and can’t wait to try it all out! This is my haul video. As I mention I will be doing swatches and reviews on the items I bought very soon.

Feel free to leave any comments or questions

Hope you enjoy!

x

https://www.youtube.com/watch?v=IM1-NHlftqE

p.s. I mention an cream eyeliner in the video I already use, I said it was Rimmel, but it’s actually Maybelline 🙂

Welcome!

Hii!

So as you can tell this is all new and I hope you’re as excited as I am.

If you can’t already tell from my blog title, this is going to be a beauty blog. Now just to clarify, by beauty I mean, anything (and everything) to do with hair, nails, make-up, skin care (and everything in between), that I can find to share with you.

I have just sent for my first E.L.F delivery, so all being well that will be my first proper post, hopefully before next week.

Bea
x